A different way of digitising images is to create what is called a montage.
Have a look at the example and the steps:
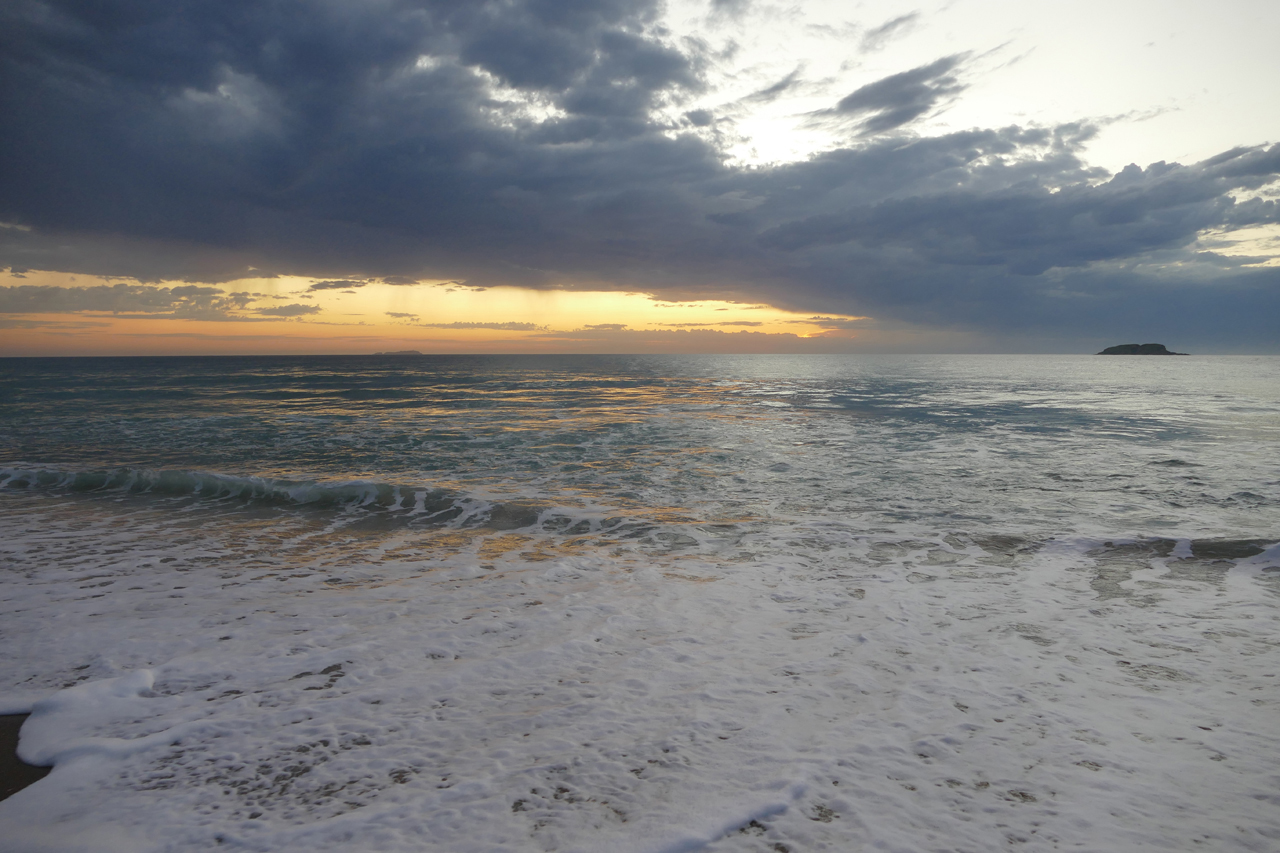
1/. Find the background that you want to display the montage:
2/. Select the montage 'object':
3/. Using Photoshop (as shown) remove the background:
4/. Copy the background onto the original image and repeat as required:
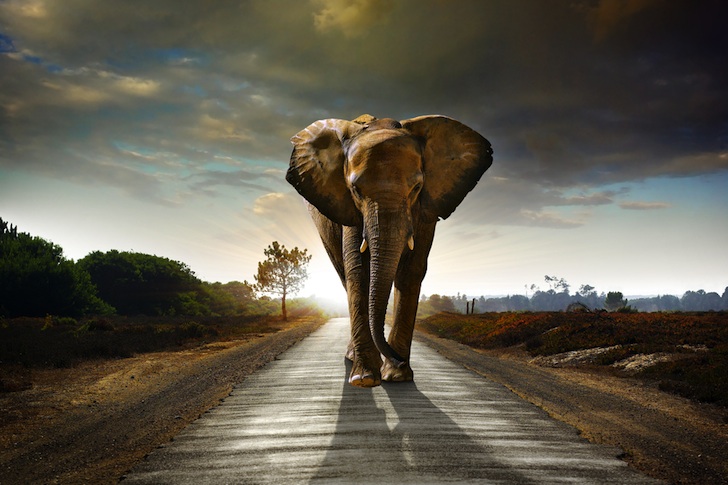
5/. Above is the final product.
The steps required to to make the montage are:
From the above:
1/. Using a 1280px wide image.
2/. On the Internet find a suitable subject photo for your montage and resize it to about half the main image. This will depend a lot on how you want to scale your image.
3/. In Photoshop create a new transparent image the same size as the 'over the top image'.
4/. Copy the over the top image onto the transparent image.
5/. Start removing the unwanted background by either:
Using the rectangular marquee tool.
The eraser.
The quick selection tool.
The magic wand tool.
The magnetic or polygonal lasso tools.
Or the Layers Masking option.
6/. Clean up the image with the eraser tool.
7/. Check the image sizing is good to the background.
8/. Then copy/paste the 'over the top' image, place it and repeat as necessary.
9/. If you need to modify the image further, delete the layer it is on and then copy/paste again.
10/. Save the finished image as a .jpg and you are done.
Camera Controls Photographing Crop Digisiting Filters Montage Image Adjustments Home